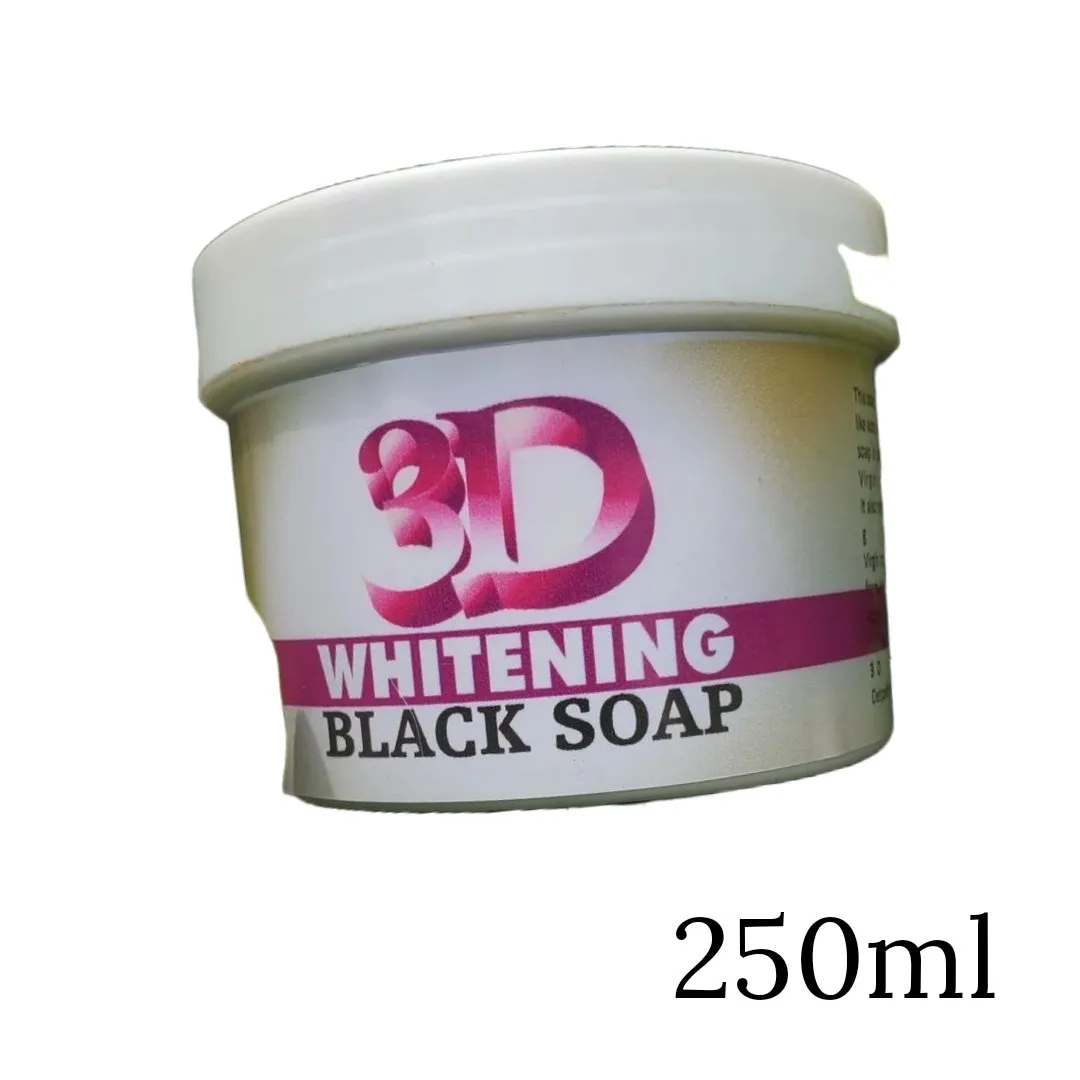
What is Whitening Black Soap?
Whitening Black Soap is a unique blend of traditional black soap and skin-lightening ingredients designed to address hyperpigmentation, dark spots, and uneven skin tone. It combines the cleansing and exfoliating properties of black soap, made from ingredients like plantain skin ash, cocoa pods, and palm oil, with the brightening effects of specific additives. This soap aims to provide a natural approach to achieving a more even and radiant complexion. The key is the careful selection of ingredients, ensuring the soap not only cleanses but also actively works towards a brighter, more uniform skin tone. This process allows you to harness the benefits of traditional soap with modern skincare techniques.
Benefits of Whitening Black Soap
Whitening Black Soap provides a range of benefits beyond just skin lightening. First and foremost, it deeply cleanses the skin, removing impurities, excess oil, and dead skin cells, which helps prevent acne and other skin issues. The exfoliating properties of the black soap base contribute to a smoother skin texture and can reduce the appearance of fine lines and wrinkles. In addition to cleansing and exfoliating, this soap helps to reduce the visibility of dark spots, hyperpigmentation, and uneven skin tone, contributing to a brighter complexion. The inclusion of certain ingredients also offers antioxidant and anti-inflammatory benefits, which can protect the skin from environmental damage and soothe irritation. When made with the right ingredients, Whitening Black Soap can be an effective way to promote overall skin health and a more radiant appearance.
Ingredients You’ll Need
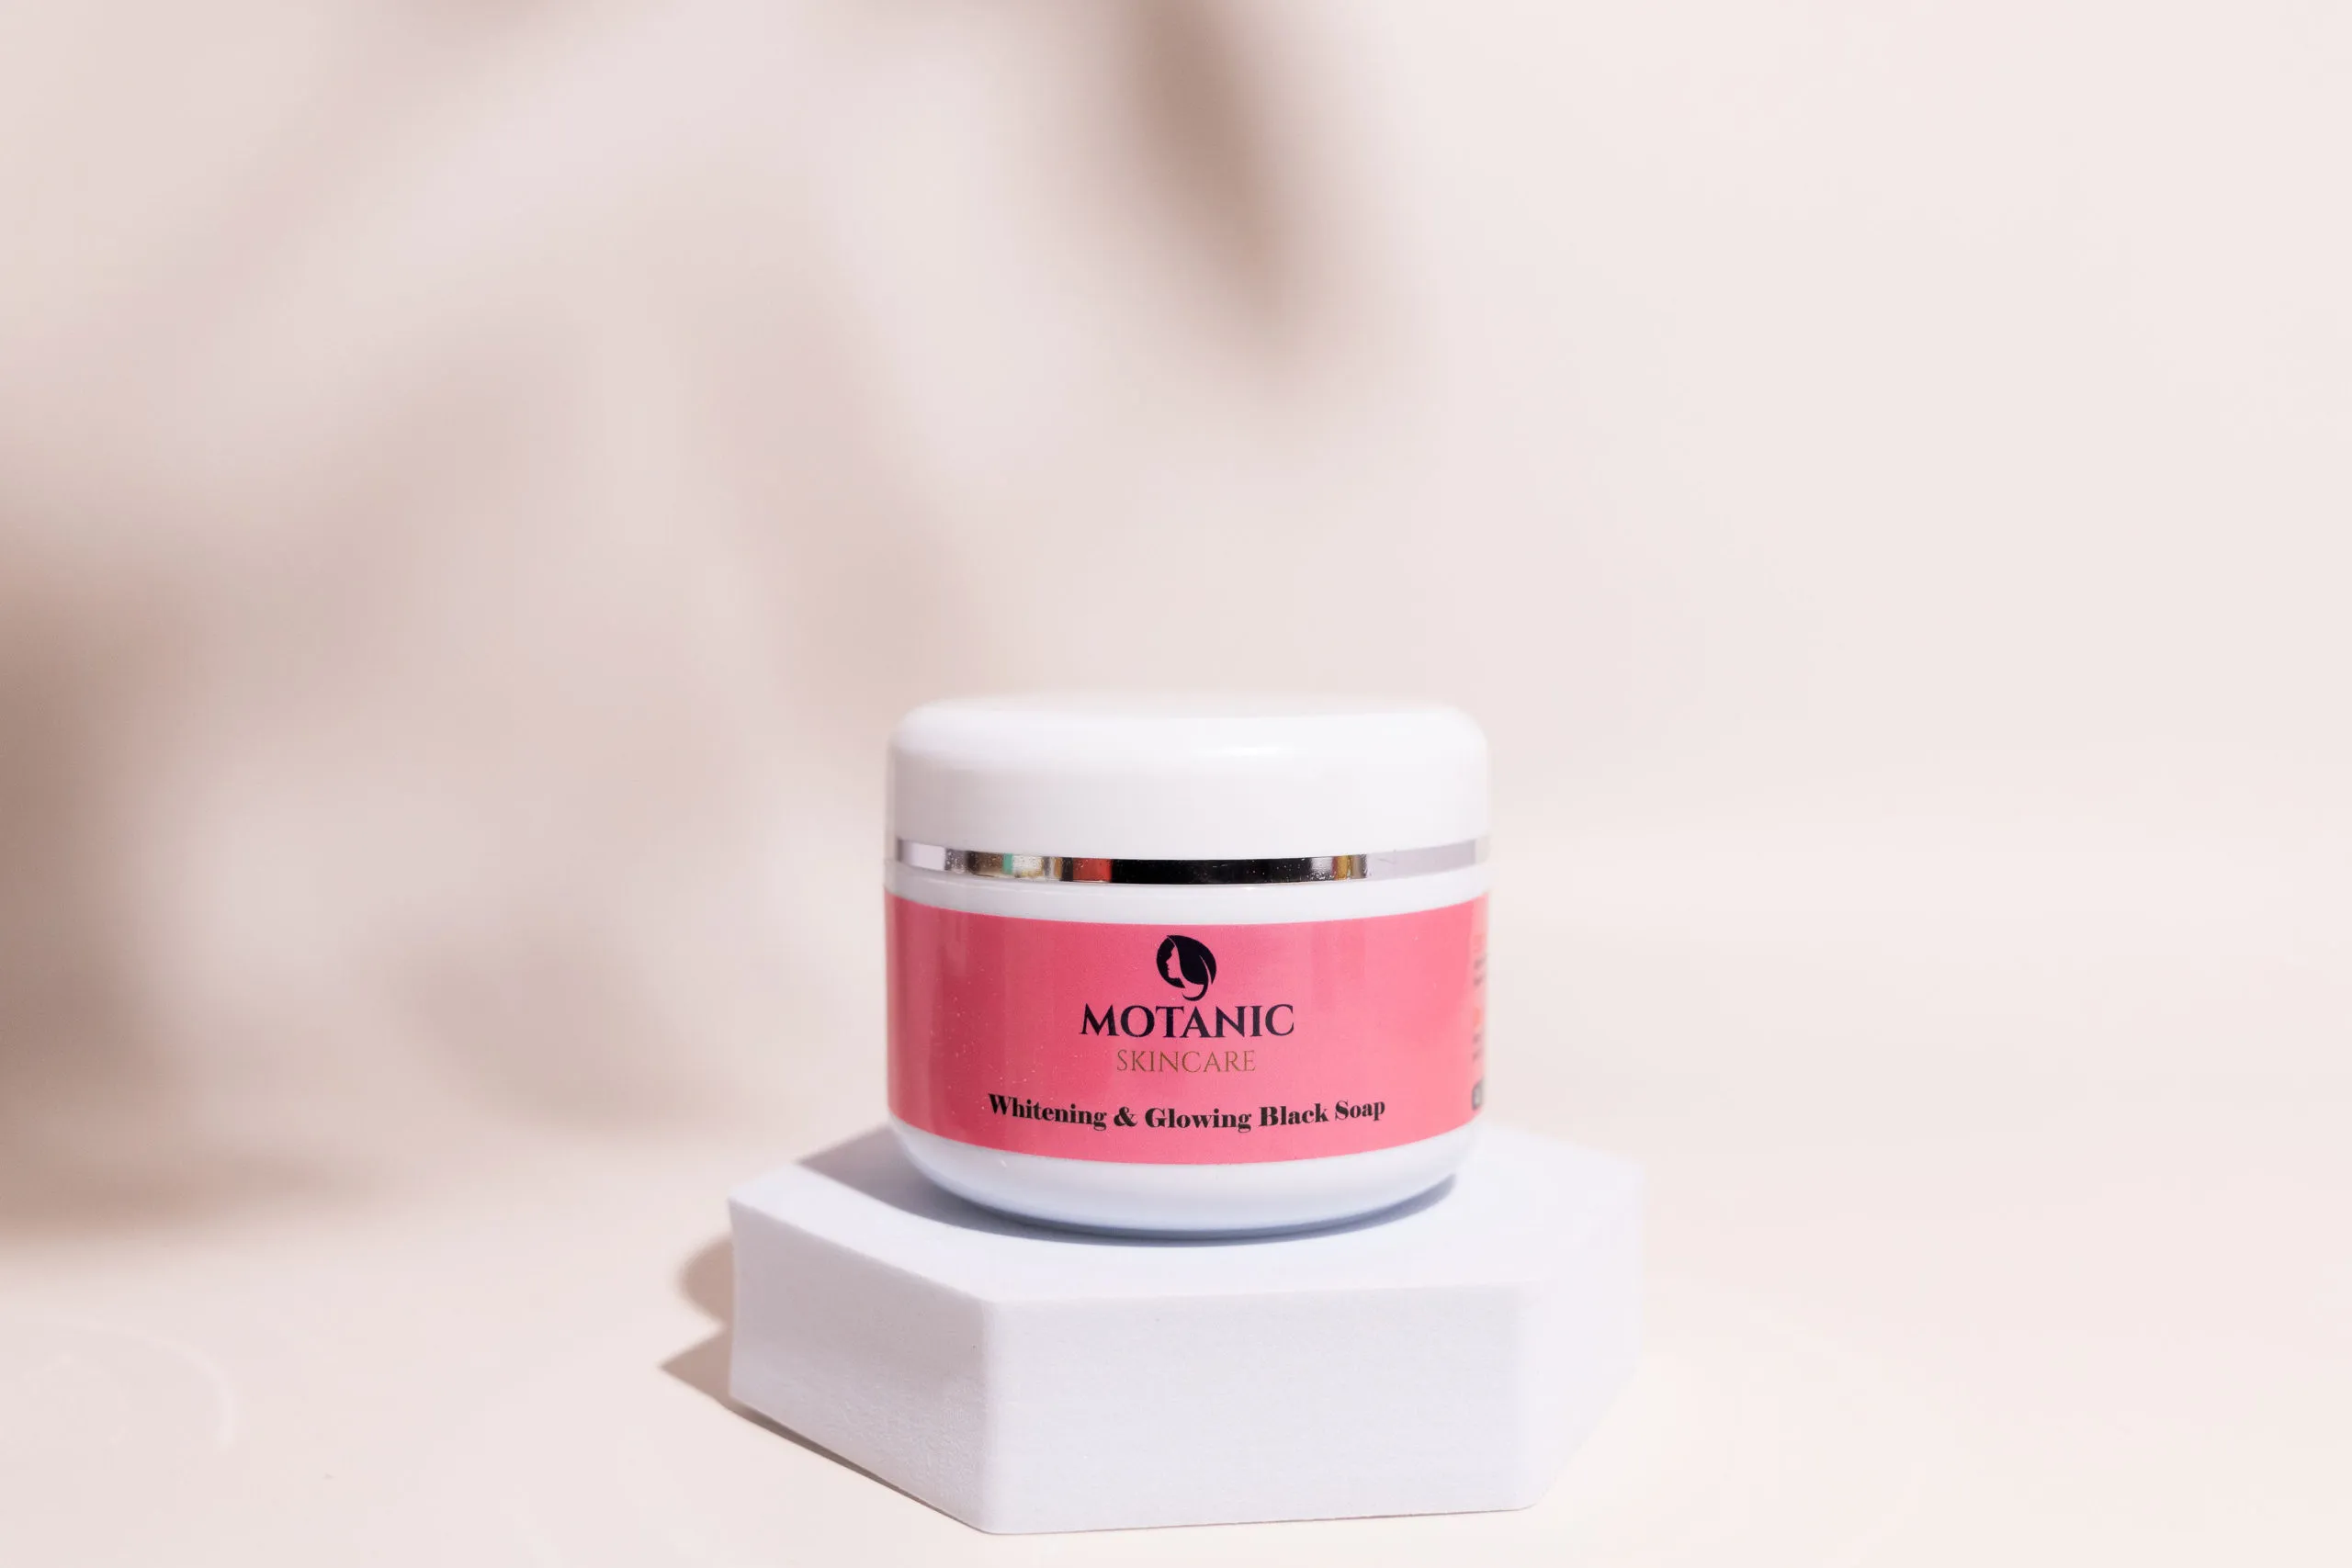
Creating Whitening Black Soap involves gathering specific ingredients to achieve both cleansing and lightening effects. The base of the soap typically includes African Black Soap, known for its deep-cleaning and exfoliating properties. Next, you’ll need to select skin-lightening agents, such as kojic acid, licorice root extract, or alpha arbutin, known for their ability to inhibit melanin production. Additives such as honey can also be included for its moisturizing and antibacterial benefits. You also want to choose a variety of essential oils to use for the benefits of the oils as well as to fragrance the soap. Always ensure you have safety gear such as gloves and eye protection to protect yourself. Finally, consider a preservative, such as vitamin E oil, to extend the soap’s shelf life and add additional antioxidant benefits.
Essential Oils for Whitening
Selecting the right essential oils can significantly enhance the effectiveness and sensory experience of your Whitening Black Soap. Some essential oils, like tea tree oil, offer antiseptic and anti-inflammatory properties, which can help treat acne and soothe irritated skin. Lemon and other citrus oils are high in antioxidants, and have the potential to act as a natural skin brightener due to the high levels of Vitamin C. Lavender oil is great for relaxation and can also help to reduce redness and inflammation, promoting a healthy complexion. When choosing essential oils, prioritize high-quality, pure oils and perform a patch test before applying them to a large area of your skin to avoid allergic reactions. Using a combination of essential oils not only enhances the soap’s effectiveness but also provides a pleasant aroma, transforming your skincare routine into a luxurious experience.
Step 1 Preparation
Gathering Your Supplies
The preparation phase is crucial for a smooth and safe soap-making process. Begin by assembling all your supplies in a clean, well-ventilated workspace. You’ll need a double boiler or heat-safe bowls for melting the black soap base, a stirring utensil, measuring cups and spoons, and containers for mixing ingredients. Always wear protective gear, including gloves and eye protection, to prevent any skin or eye irritation. Have all your ingredients measured and ready to go, and make sure your work area is clear of any distractions. Having everything organized beforehand minimizes the risk of mistakes and ensures an efficient process, setting the stage for successful soap making. It is important to have each ingredient set to go so you can seamlessly go through the steps.
Step 2 Mixing the Base
Adding Your Ingredients
With your supplies ready, start by gently melting your black soap base using a double boiler or microwave-safe bowl set over simmering water. Ensure the soap melts smoothly, avoiding any burning or scorching. Once melted, remove it from the heat and let it cool slightly. This is where you’ll incorporate your skin-lightening agents. Gradually add your selected additives, such as kojic acid or licorice root extract, ensuring each ingredient is mixed thoroughly. Be careful not to add them too quickly, allowing each one to fully integrate into the soap base. At this stage, also add any desired essential oils for fragrance and added benefits. Stir the mixture well to ensure everything is fully combined, creating a homogeneous blend that will eventually become your Whitening Black Soap.
Step 3 The Whitening Boost
Incorporating Whitening Agents
This step is essential for achieving the skin-lightening properties of your soap. Carefully select your whitening agents, which could include kojic acid, known for inhibiting melanin production; licorice root extract, which contains glabridin that can help brighten the skin; or alpha arbutin, a natural skin-lightening agent derived from bearberry plants. Start by carefully measuring the recommended amount of each agent, referring to the manufacturer’s guidelines for safe usage. Add each agent to the melted black soap base, mixing thoroughly after each addition. Ensure the ingredients are evenly distributed throughout the mixture to ensure consistent results. Monitor the mixture for any changes in consistency or color, which may indicate how the ingredients are interacting. This phase requires precision and attention to detail to guarantee the soap provides the desired skin-lightening benefits.
Step 4 Curing and Setting
Curing the Soap
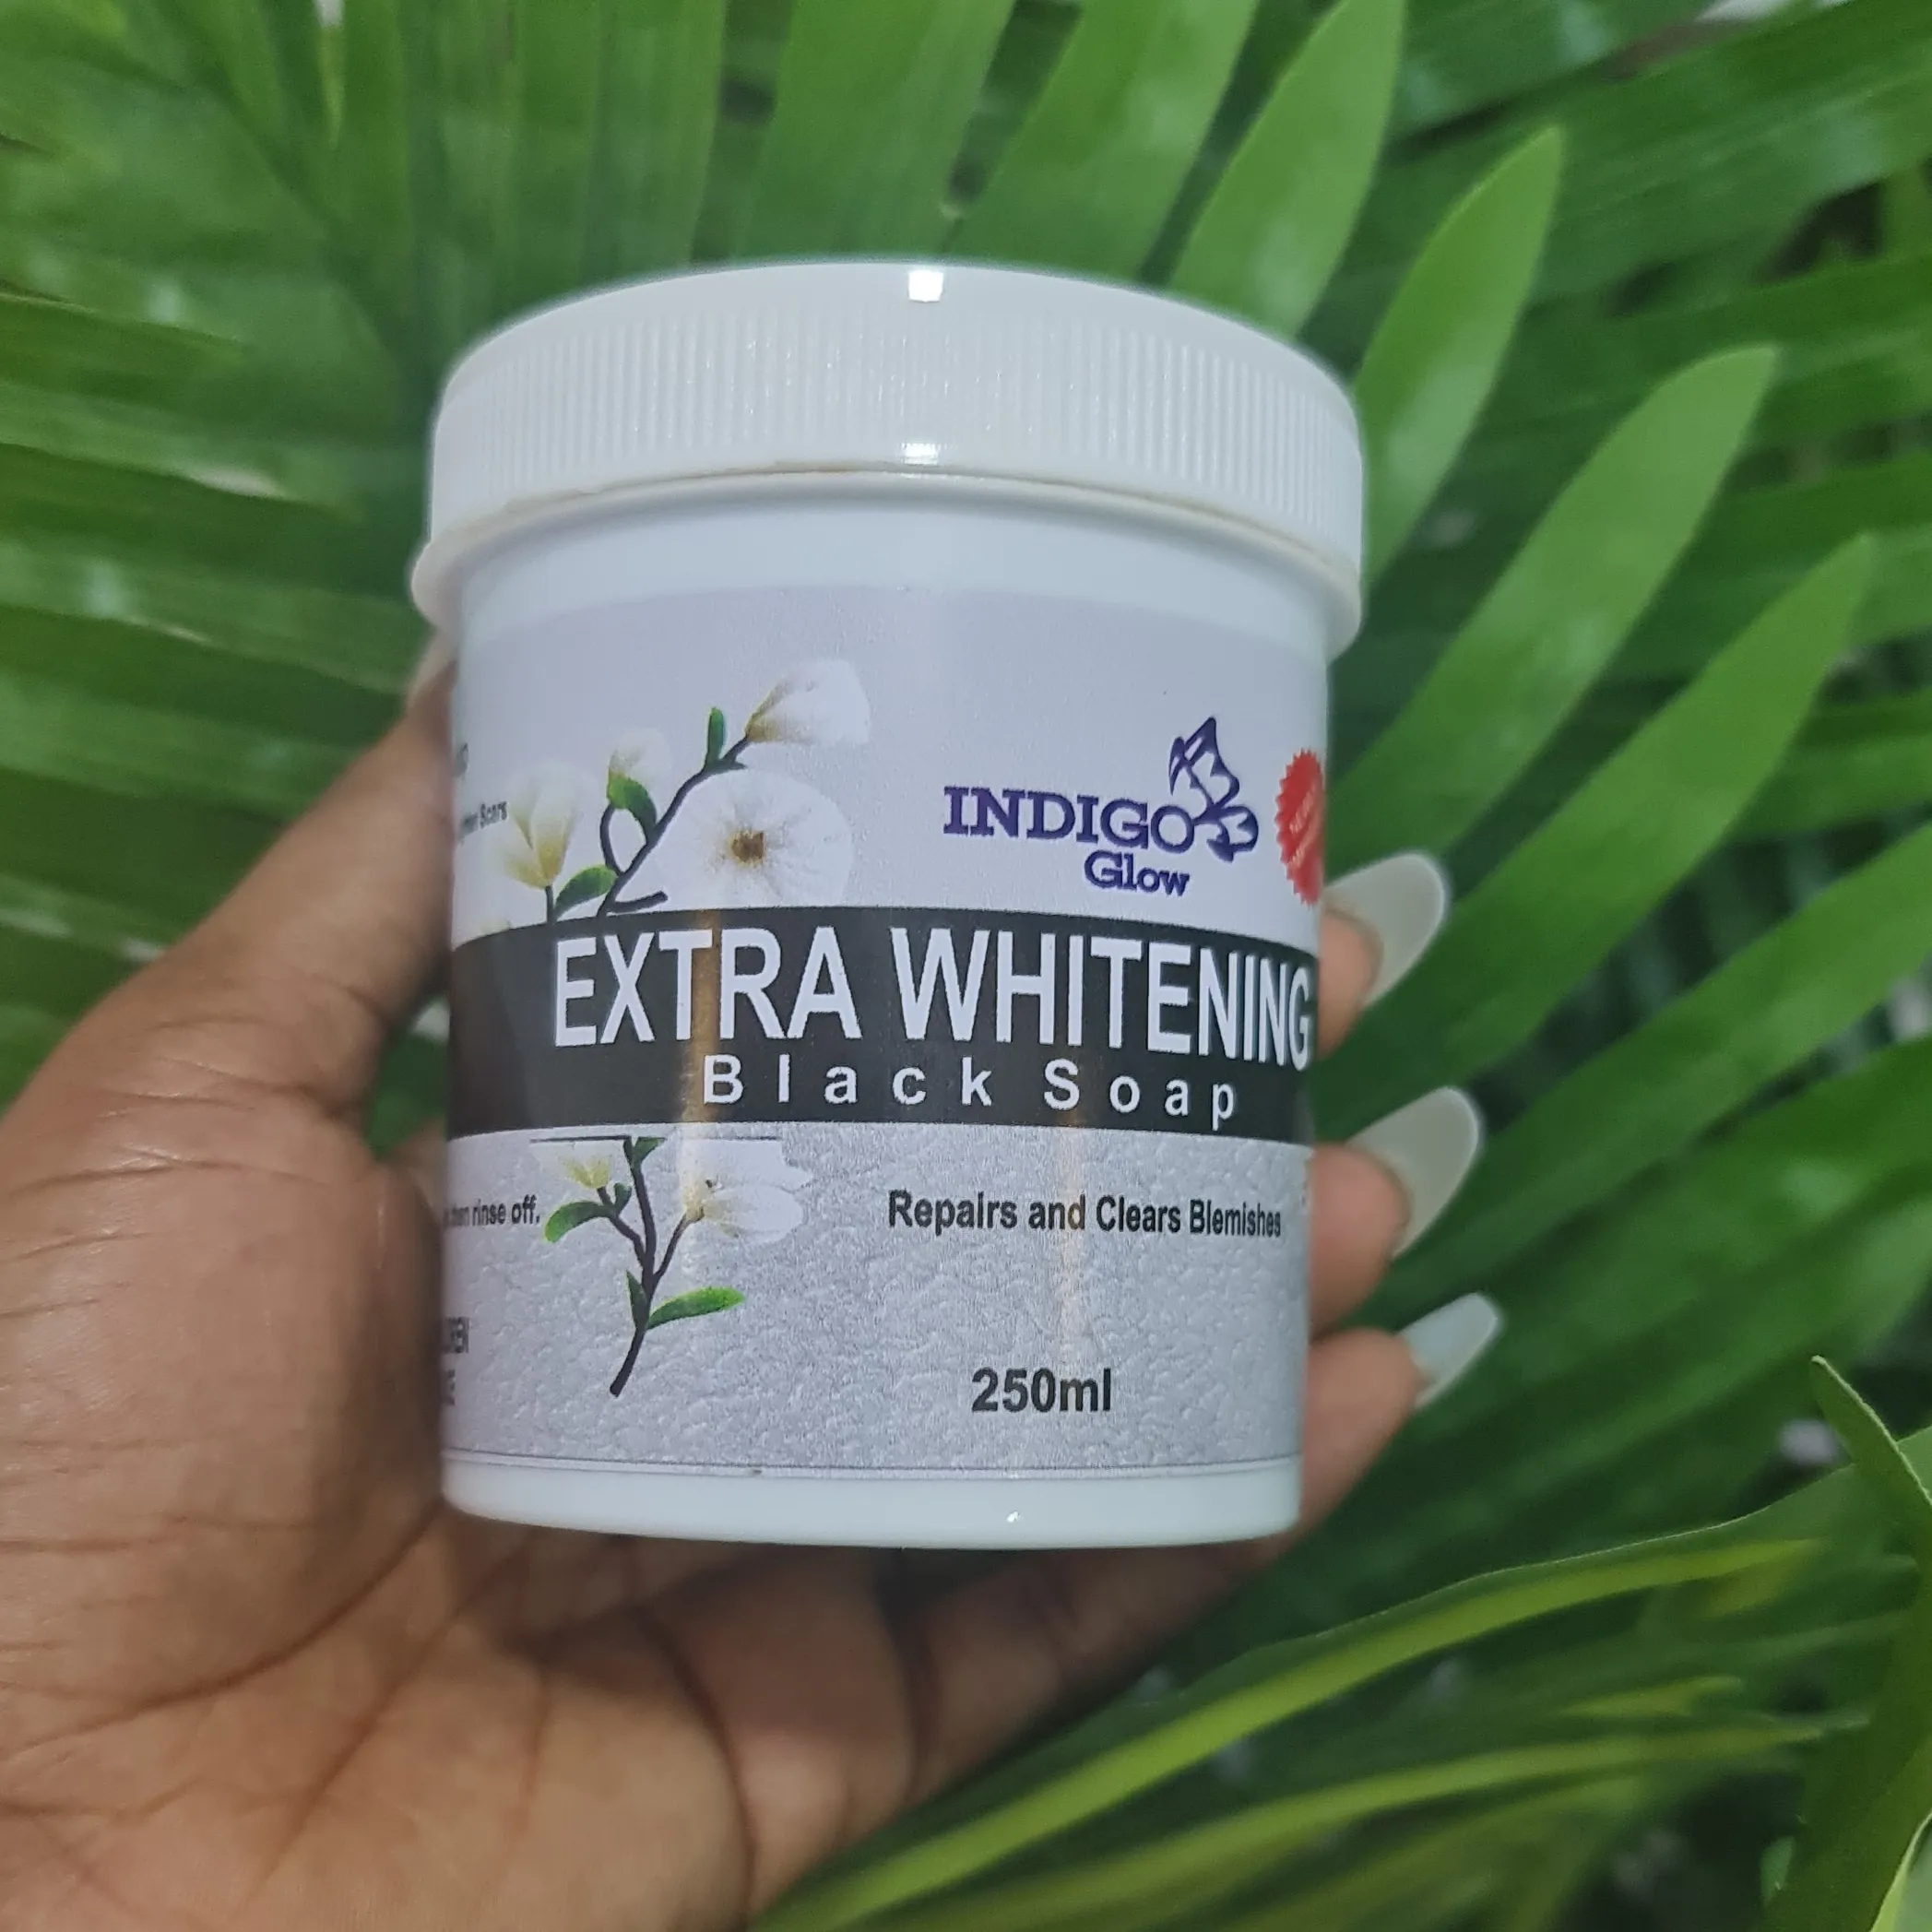
Once your mixture is complete, the next step is to pour it into your molds. You can use silicone molds for easy removal, or any other soap molds you have available. Pour the soap evenly into the molds, ensuring that it fills each mold without overflowing. After pouring, gently tap the molds on the counter to release any trapped air bubbles, which can affect the appearance of the final product. Allow the soap to set and harden, which typically takes 24 to 48 hours, depending on the ingredients and the room temperature. When the soap is firm, carefully remove it from the molds and cut it into bars if necessary. Curing is the last step, which is when the soap hardens further. The soap needs to cure for several weeks in a well-ventilated area. This process reduces the water content and results in a milder, longer-lasting soap. During this time, the soap will also harden and become less likely to dissolve quickly in water.
Step 5 Usage and Storage
How to Use Whitening Black Soap
To use your homemade Whitening Black Soap, start by wetting your skin thoroughly with warm water. Lather the soap in your hands or on a washcloth, and apply it to your face and body using gentle, circular motions. This method helps to create a rich, foamy lather and ensures even coverage. Allow the lather to sit on your skin for a few moments to allow the active ingredients to work effectively. Rinse thoroughly with warm water, ensuring no soap residue remains. Pat your skin dry with a soft towel. For best results, use the soap consistently, ideally once or twice daily. It’s important to observe your skin’s response and adjust your usage based on your skin’s sensitivity. Always follow up with a moisturizer, especially if you have dry skin, to maintain hydration and skin health.
Proper Storage Techniques
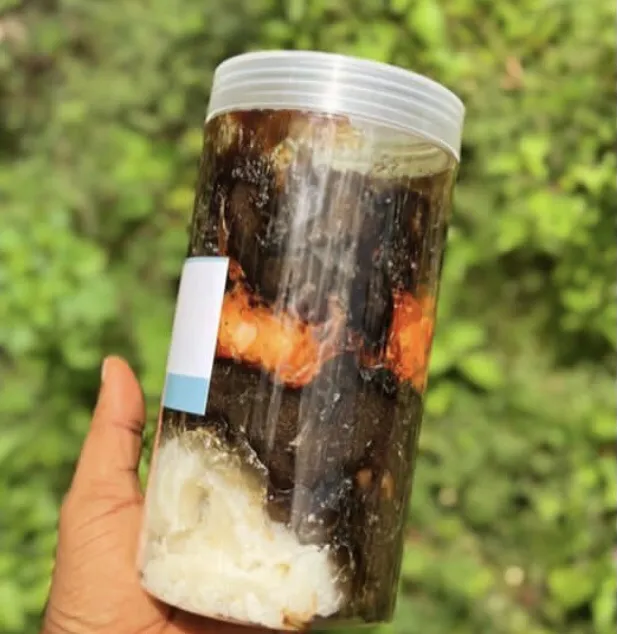
Proper storage of your Whitening Black Soap is essential to maintain its quality and prolong its lifespan. Store the soap in a cool, dry place away from direct sunlight and heat to prevent it from melting or losing its effectiveness. After each use, place the soap on a well-draining soap dish, allowing it to air dry completely. This helps prevent the soap from becoming soggy and breaking down quickly. If you are making soap in larger quantities, consider storing the extra bars in an airtight container or a breathable bag, such as a linen bag, to protect them from moisture and dust. Avoid storing the soap in the bathroom if it’s not well-ventilated, as high humidity can cause it to soften. If you notice any changes in the soap’s appearance or smell, it might indicate degradation. Following these storage tips will help your homemade soap last longer and provide consistent results.
