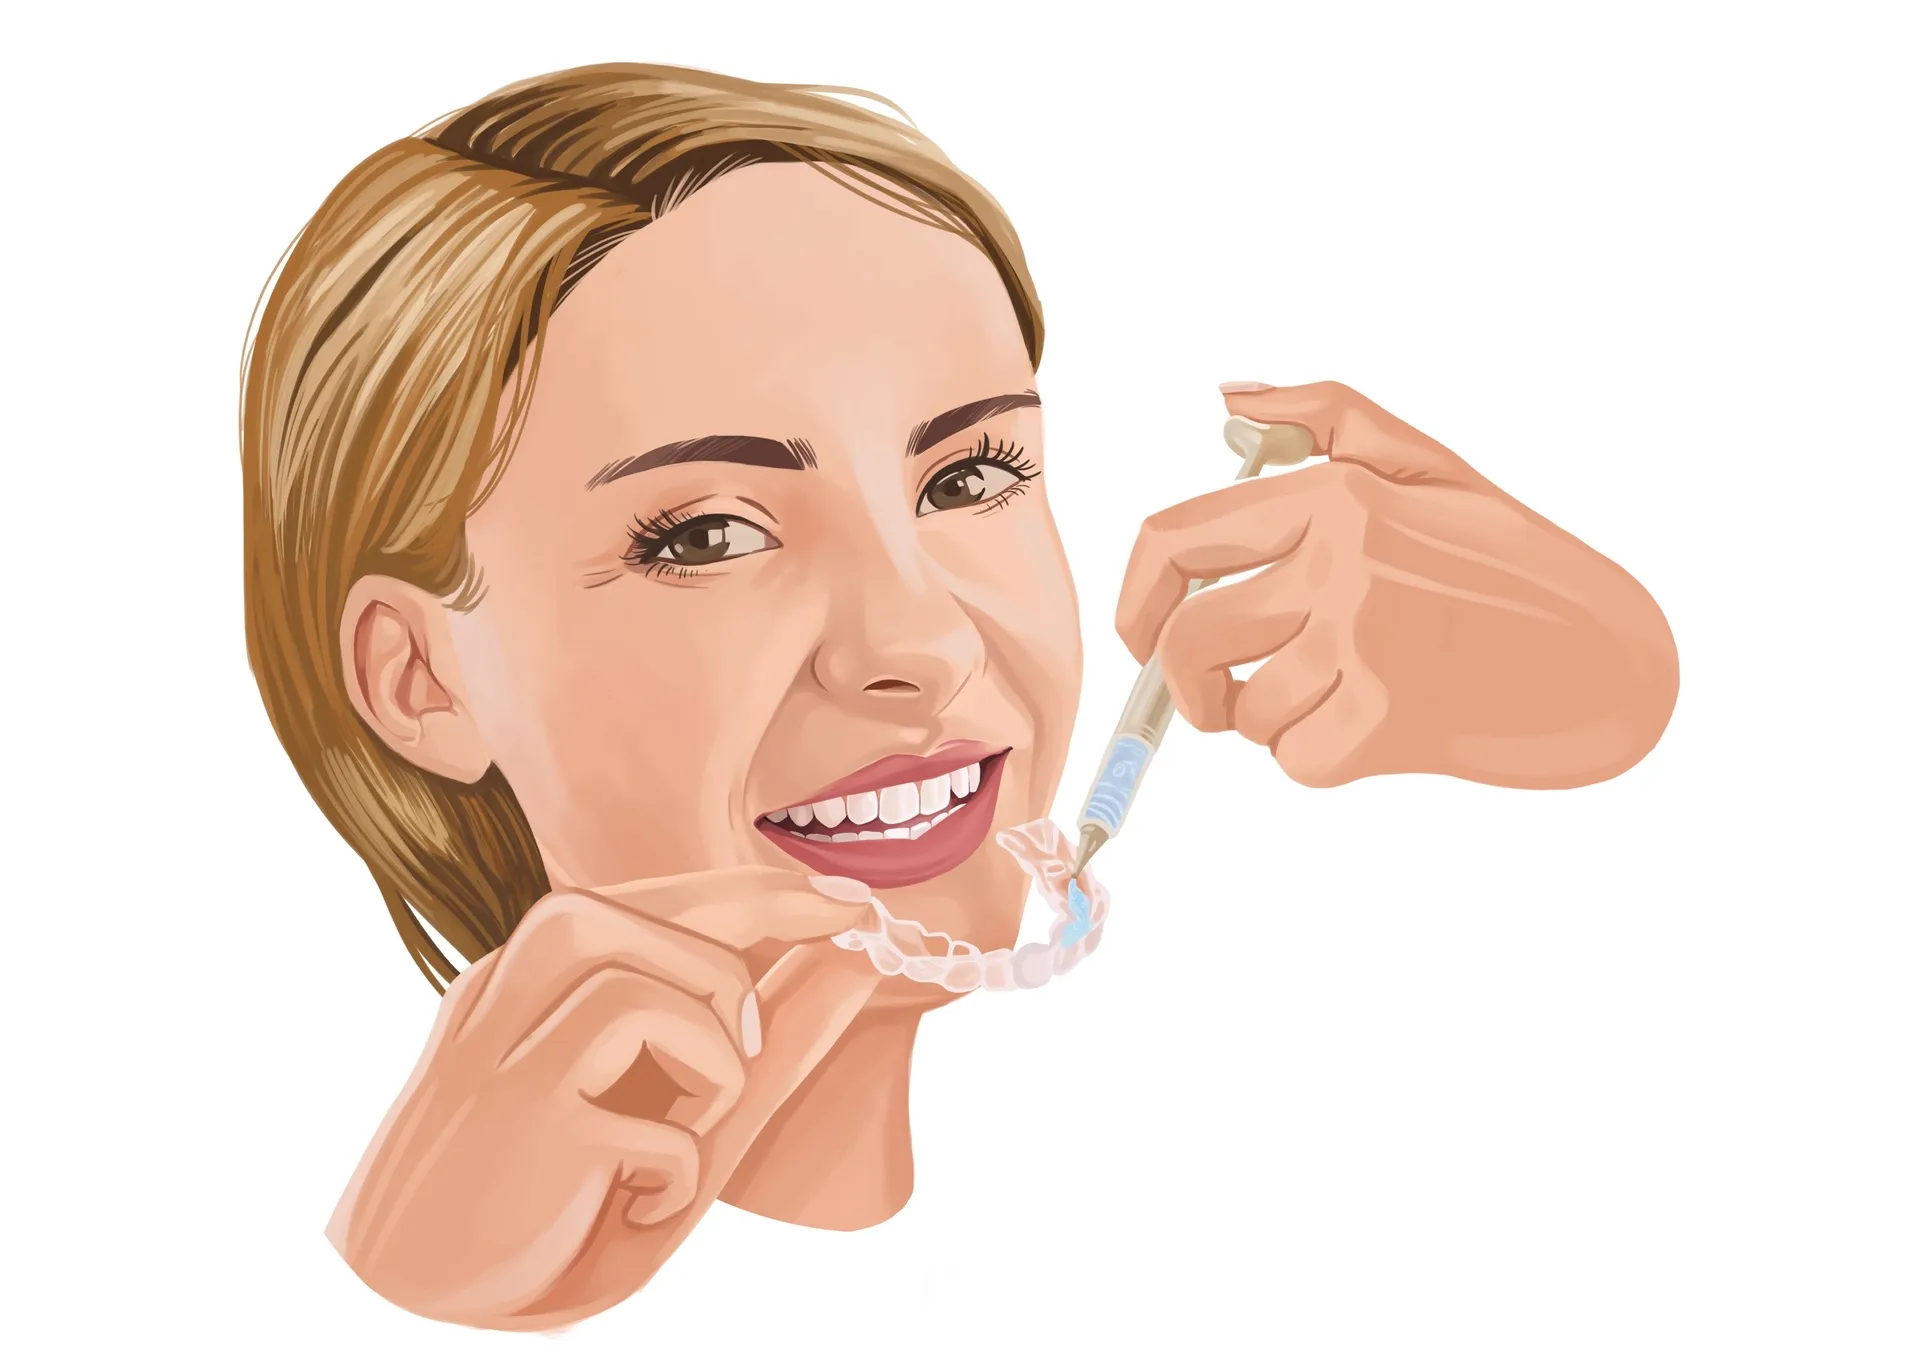
Understanding the Basics of Teeth Whitening Photo Editing
Teeth whitening photo editing is the process of digitally enhancing images to improve the appearance of teeth. It’s a crucial skill for dentists, dental hygienists, and anyone who wants to present their smiles in the best possible light. This involves adjusting the color, brightness, and contrast of the teeth, as well as removing any imperfections or discoloration. Successful teeth whitening photo editing requires a good understanding of digital image manipulation, color theory, and the specific tools available in photo editing software. The goal is to achieve a natural-looking result that enhances the aesthetic appeal of the teeth without appearing artificial or overdone. Whether it’s for professional portfolios, patient education, or personal photos, mastering the art of teeth whitening editing is a valuable asset.
What is Photo Editing and Why Is It Important
Photo editing encompasses a wide range of techniques used to manipulate and enhance digital images. It’s an essential part of modern photography and visual communication. Photo editing can correct flaws, improve composition, adjust colors, and create artistic effects. In the context of teeth whitening, editing is particularly important. It allows professionals and individuals to showcase the results of teeth whitening treatments accurately. High-quality editing highlights the positive changes, making the smile appear brighter, cleaner, and more attractive. The benefits are significant, contributing to patient satisfaction and improving visual communication. In the digital age, the ability to edit photos is critical for presentation.
The Role of Editing in Teeth Whitening

Editing plays a vital role in teeth whitening by enhancing the visual impact of the treatment. It helps to accurately represent the shade and condition of the teeth before and after the procedure. By carefully adjusting color, contrast, and brightness, editors can eliminate discoloration. Editing also ensures that the final images reflect the true results, helping patients see the full potential of their new smiles. Proper editing can correct any unwanted yellowing or staining, and create a uniform, natural-looking white appearance. This ultimately boosts patient confidence in their treatments and supports effective communication between dentists and their patients. It provides a realistic and compelling representation of the whitening outcomes.
Essential Software and Tools for Editing
To successfully edit teeth whitening photos, you’ll need the right software and tools. Popular choices include Adobe Photoshop and Adobe Lightroom, both industry standards known for their powerful features and extensive capabilities. These programs provide the tools to adjust colors, remove blemishes, and fine-tune the overall appearance. Other options include GIMP, a free and open-source alternative, and specialized apps designed for mobile editing. Essential tools in these programs include color correction adjustments, sharpening tools, masking features for selective editing, and healing brushes to eliminate imperfections. Selecting the right software and familiarizing yourself with the tools is the first step toward achieving professional-quality results in teeth whitening photo editing. This will provide the means to manipulate the images effectively.
Choosing the Right Editing Software for Teeth Whitening Photos
Selecting the right photo editing software depends on your specific needs and skill level. For professionals and those seeking advanced features, Adobe Photoshop and Lightroom are highly recommended. Photoshop offers unmatched control and flexibility, while Lightroom excels in organizing and processing large batches of photos. If you’re on a budget or prefer a free option, GIMP is a robust alternative. Consider ease of use, the availability of tutorials, and the specific features offered. Before committing to a paid option, try out free trials. Ensure the software has essential tools like color correction, selective editing, and noise reduction. The best software will streamline the workflow and help achieve the desired results for your teeth whitening edits.
Free vs. Paid Options

When it comes to photo editing software, there’s a choice between free and paid options, each with its own advantages. Free software, like GIMP, offers a cost-effective way to edit photos, providing many basic features without any financial commitment. Paid software, such as Adobe Photoshop and Lightroom, offers a wider array of tools, advanced capabilities, and professional-grade results. Paid options often come with better support, regular updates, and access to comprehensive tutorials. If you’re a professional or require advanced features, investing in paid software is typically the better choice. For occasional use or simple edits, free options can be perfectly adequate.
Step-by-Step Guide to Teeth Whitening Photo Editing
A successful teeth whitening photo editing workflow involves several key steps. Begin by importing your image into your chosen software. Start with initial adjustments in color correction, ensuring the white balance is accurate. Then, focus on brightness and contrast, refining the image to highlight the teeth. Next, use the tools for saturation and vibrance, carefully enhancing the color without making it look artificial. Apply sharpening and noise reduction to clarify the details and eliminate unwanted artifacts. It’s vital to avoid overdoing these steps. Finally, export your edited image, selecting a file format and resolution optimized for its intended use. Regularly practicing this workflow will improve the quality and consistency of your edited results.
Color Correction and Adjustment
Color correction is the initial step in teeth whitening photo editing, and it involves adjusting the white balance and overall color cast of the image. Start by correcting any unwanted tints, such as yellowing or blue hues. Use the white balance tool to neutralize these tones, ensuring that the teeth appear naturally white. Consider using the eyedropper tool to select a neutral point in the image, like a gray area, to assist in balancing the colors. Fine-tune the color temperature and tint sliders until the teeth appear their truest color. Accurate color correction sets the foundation for the rest of the editing process, ensuring that the final result accurately reflects the effects of teeth whitening.
Brightness and Contrast

After color correction, adjust the brightness and contrast of the image to improve the overall appearance. Increase the brightness to make the teeth appear whiter and more radiant, but do so gradually. Adjusting the contrast will help to define the edges and make the teeth appear more distinct from the surrounding areas. Ensure the contrast isn’t too high to avoid harsh shadows or a fake appearance. Use the histogram in your editing software to monitor the changes, ensuring that you’re not clipping the highlights or shadows. Carefully balancing brightness and contrast can significantly enhance the appearance of teeth without requiring aggressive edits.
Saturation and Vibrance
Enhancing saturation and vibrance can add depth and life to your edited photos, but it must be done carefully. Adjust the saturation to gently increase the intensity of the colors, but avoid going overboard, as it can lead to unnatural-looking results. Focus on bringing out the natural color of the teeth without creating a heavily edited appearance. The vibrance tool is useful for subtly boosting the less saturated colors without affecting the already vibrant tones. Always use these tools in moderation to preserve a realistic aesthetic. When applied correctly, these adjustments can make the teeth appear healthier and more vibrant, contributing to a beautiful smile.
Sharpening and Noise Reduction
Sharpening and noise reduction are crucial for refining the final image. Sharpening enhances the details and clarity, making the teeth appear crisper and more defined. Use the sharpening tool cautiously to avoid creating unwanted artifacts or a grainy texture. Simultaneously, noise reduction helps remove any unwanted grain or speckling that can appear, particularly in areas with low light or high ISO settings. Noise reduction smooths the image, creating a cleaner look. Careful balance these two techniques is crucial for a professional outcome. This produces a clean, detailed image while minimizing the appearance of imperfections. These adjustments contribute to a more polished final result.
Advanced Techniques for Professional Results

For professional results, it’s important to explore advanced techniques. Selective editing, which allows you to target specific areas of the image, is crucial. Use masking techniques to isolate the teeth. Utilize dodging and burning, selectively lightening or darkening areas to shape and enhance the appearance. Employ frequency separation to smooth skin textures while preserving details. These advanced techniques demand practice but produce more refined results. Mastering these tools will give you the ability to refine teeth appearance precisely. They also reduce the risk of over-editing, resulting in a more natural, professional look.
Selective Editing and Masking
Selective editing allows you to target specific parts of an image, giving you precise control. Masking is a technique where you isolate the teeth by creating a selection or mask. This allows you to apply adjustments to only the teeth without affecting the surrounding areas. Using masking, you can fine-tune the color, brightness, and contrast of the teeth. Use tools like the lasso, quick selection, or pen tool to create accurate masks. Once the mask is in place, you can apply adjustments. Selective editing prevents unwanted changes to other parts of the image, ensuring a polished and natural result. This method is crucial to achieving professional outcomes.
Dodging and Burning
Dodging and burning are advanced techniques used to selectively lighten (dodging) and darken (burning) specific areas of an image. In teeth whitening photo editing, this can be used to subtly shape the teeth, adding dimension and enhancing their natural contours. Using a soft brush, apply dodging to the highlights and burning to the shadows, carefully shaping the teeth. This technique requires a delicate touch to avoid an artificial appearance. When done correctly, dodging and burning create a more realistic and appealing result, highlighting the texture and form of the teeth. This technique also adds depth and further enhances the overall aesthetic.
Frequency Separation

Frequency separation is an advanced technique used to smooth skin textures while preserving detail. This technique separates an image into two layers. One layer contains the textures and details, and the other layer contains the colors and tones. This allows you to smooth the skin without losing the fine details. While primarily used on skin, frequency separation can be adapted to the teeth for specific edits. It enables you to smooth out any imperfections or inconsistencies in the teeth’s surface. This technique reduces the risk of creating an unnatural look. This can result in a more polished and refined appearance. Frequency separation requires practice, but yields outstanding results.
Common Mistakes to Avoid
Several common mistakes can ruin the results of teeth whitening photo editing. Over-whitening is one of the most frequent errors, leading to an unnatural, artificial appearance. Another mistake is ignoring color casts, which can skew the perceived shade of the teeth. Over-sharpening can also create unwanted artifacts. Another error is failure to address the natural variations in the teeth. Being aware of these common pitfalls, you can adjust your workflow. This allows you to produce more realistic and appealing outcomes. Careful observation and a gentle touch are keys to avoiding these mistakes and achieving professional results. Avoiding mistakes will greatly improve your end result.
Over-Whitening
Over-whitening is the most common mistake in teeth whitening photo editing. It occurs when you apply too much brightness or whiteness. The results are teeth that look unnaturally bright and artificial. Over-whitening can also create a “glow” effect around the teeth. To avoid this, apply adjustments in moderation and always assess the results in context with the rest of the image. Strive for a natural look that enhances the teeth’s appearance without giving the impression of artificial enhancement. It is best to err on the side of caution. Always compare the edited results to the original image.
Ignoring Color Casts

Ignoring color casts can compromise the final results. Color casts are unwanted tints, which can distort the appearance of the teeth. These can be caused by lighting conditions or incorrect white balance. Color casts make the teeth appear yellowish or blue. It is important to correct the white balance and color correction. Always assess and adjust the color temperature and tint to neutralize any unwanted colors. By addressing color casts, you can ensure the teeth appear natural and consistent. This sets the stage for a successful edit and achieves an accurate portrayal of the teeth.
Over-Sharpening
Over-sharpening is another mistake. Sharpening too aggressively can lead to an unappealing look. This causes the appearance of harsh edges, halos, and artifacts around the teeth. Use sharpening tools judiciously to enhance details without creating these unwanted effects. Fine-tune the sharpening amount and radius. Avoid excessive sharpening that can detract from the natural appearance of the teeth. This will lead to a cleaner and more professional outcome. The goal is to produce a clear and detailed image.
Tips for Taking Better Photos for Editing
Taking good photos is vital for successful teeth whitening photo editing. Proper lighting and composition are key. Using soft, even lighting will minimize shadows and allow for more accurate color correction. Make sure the subject’s teeth are clean and dry. Experiment with different angles to capture the best view of the teeth. Consider the camera settings, adjusting the aperture and ISO settings to control depth of field and light sensitivity. By taking a photo that is sharp, well-lit, and properly composed, you set the stage for effective editing. Invest time into taking better photos to improve the quality of the end product.
Lighting and Composition
Effective lighting is crucial. Use soft, even lighting to eliminate harsh shadows. Consider using a ring light or a softbox. This provides consistent light distribution, reducing the contrast and making color correction easier. Pay attention to the composition. Ensure the subject’s mouth is well-framed. Make sure the teeth fill the frame. Experiment with different angles. Choose the best view. A well-composed photograph sets the foundation for a successful editing process.
Camera Settings
Optimizing your camera settings will improve the final results. Adjust the aperture to control the depth of field, ensuring that the teeth are in focus. Use a low ISO setting to minimize image noise. Select a white balance setting. Ensure the colors are accurate. The correct camera settings make your editing process more efficient. They also allow for the image to look the best. Practice with various settings. This helps you learn what works best in different lighting conditions.
Finalizing and Exporting Your Edited Photos
After completing your edits, finalize your images. This involves reviewing the overall appearance and making any necessary adjustments. Ensure that the teeth look natural. Ensure that the image quality meets your requirements. Export your images, selecting the appropriate file format and resolution based on the intended use. Consider file size and the image quality requirements. Always preview your exported image. This ensures that your settings have been properly applied. Consistent practice leads to refined editing skills.
File Formats and Resolution
Choosing the right file format and resolution is essential for your workflow. For maximum quality and editing flexibility, save your original images as RAW files. When exporting your edited photos, select a file format based on how you will use the image. JPEG is suitable for web use and sharing. TIFF is ideal for professional printing. For digital display, select a resolution that matches the intended use. Be aware of the compression, as this will affect the image quality. The right file format and resolution will maintain the quality and clarity of your images.
Saving and Sharing Your Work
Proper saving and sharing practices help to maintain the quality and integrity of your edited images. Always save a copy of your original image. Then, save your edited image in the appropriate format. Include metadata to describe your work. When sharing your work online, use a web-optimized format. Be mindful of any compression applied during the sharing process. Always credit any software or tools used. By adhering to these practices, you can protect your work and ensure that your edited images maintain their visual quality. Protect your images as they are shared.